Growing up is hard, but I’m glad that we do. A few summers ago, I went to Otto - Mario Batali’s renown pizzeria enoteca - with my friend Michelle. The thin-crust pizza that we tasted had slices of prosciutto, a heap of arugula and a drizzle of olive oil on top. It was not the chewy NYC pizza that I had grown accustomed to. “What is this greenery,” I wondered, “and just what is it doing on my pizza?”
Fast forward to now and arugula is one of my favorite ingredients - I put it on, like, everything. But back then, I couldn’t appreciate its clean earthiness and how it intermingled with the sharp flavor of the pie. I bet if I ate that pizza today, my opinion would be way different.
So why am I talking about pizza in a grilled cheese post? Well, back then, I would have said that grilled cheese - like pizza - is not broken, so why fix it? The Wonderbread-Kraft version is just fine. But because I am now older and a tad wiser, I see that there’s nothing wrong with enhancing a classic food. It is simply a variation on the theme - the cheesy, crispy, comforting theme.
(Yield: 1 sandwich)
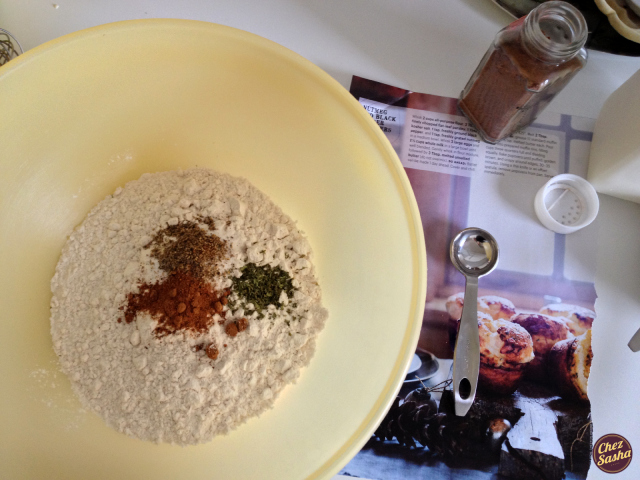
Ingredients:
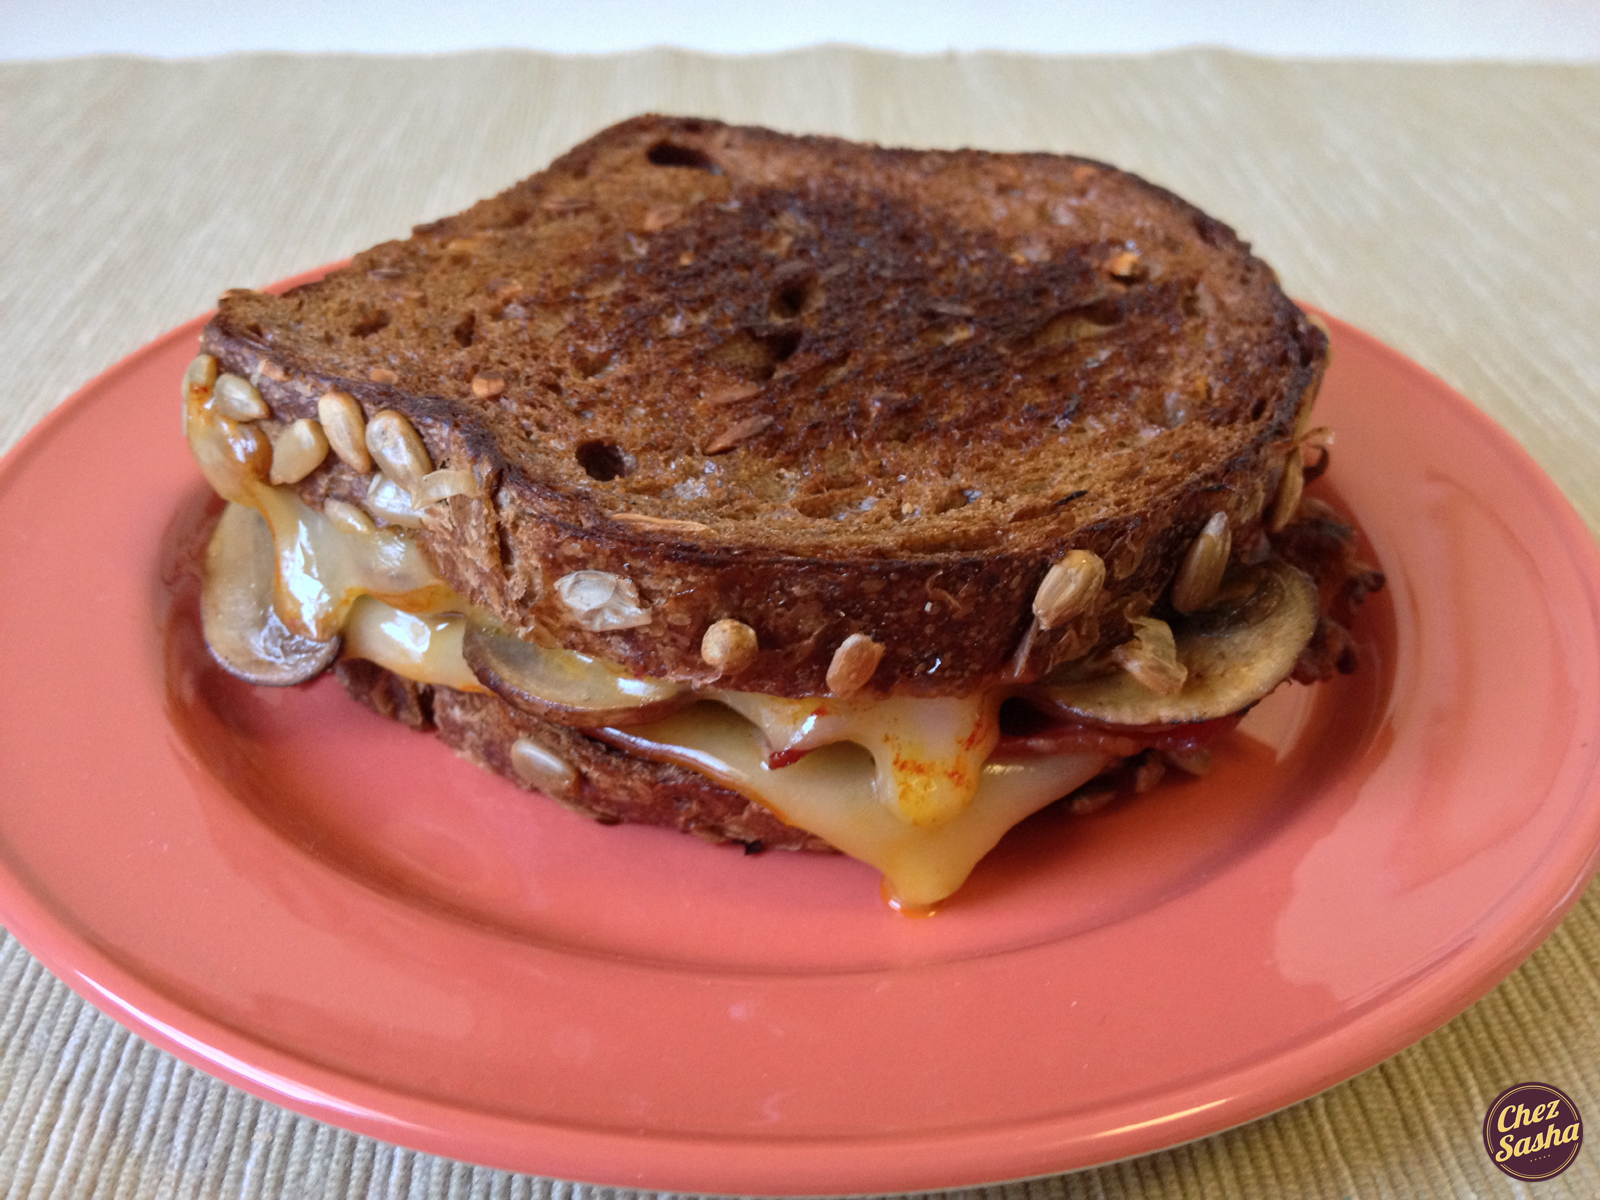
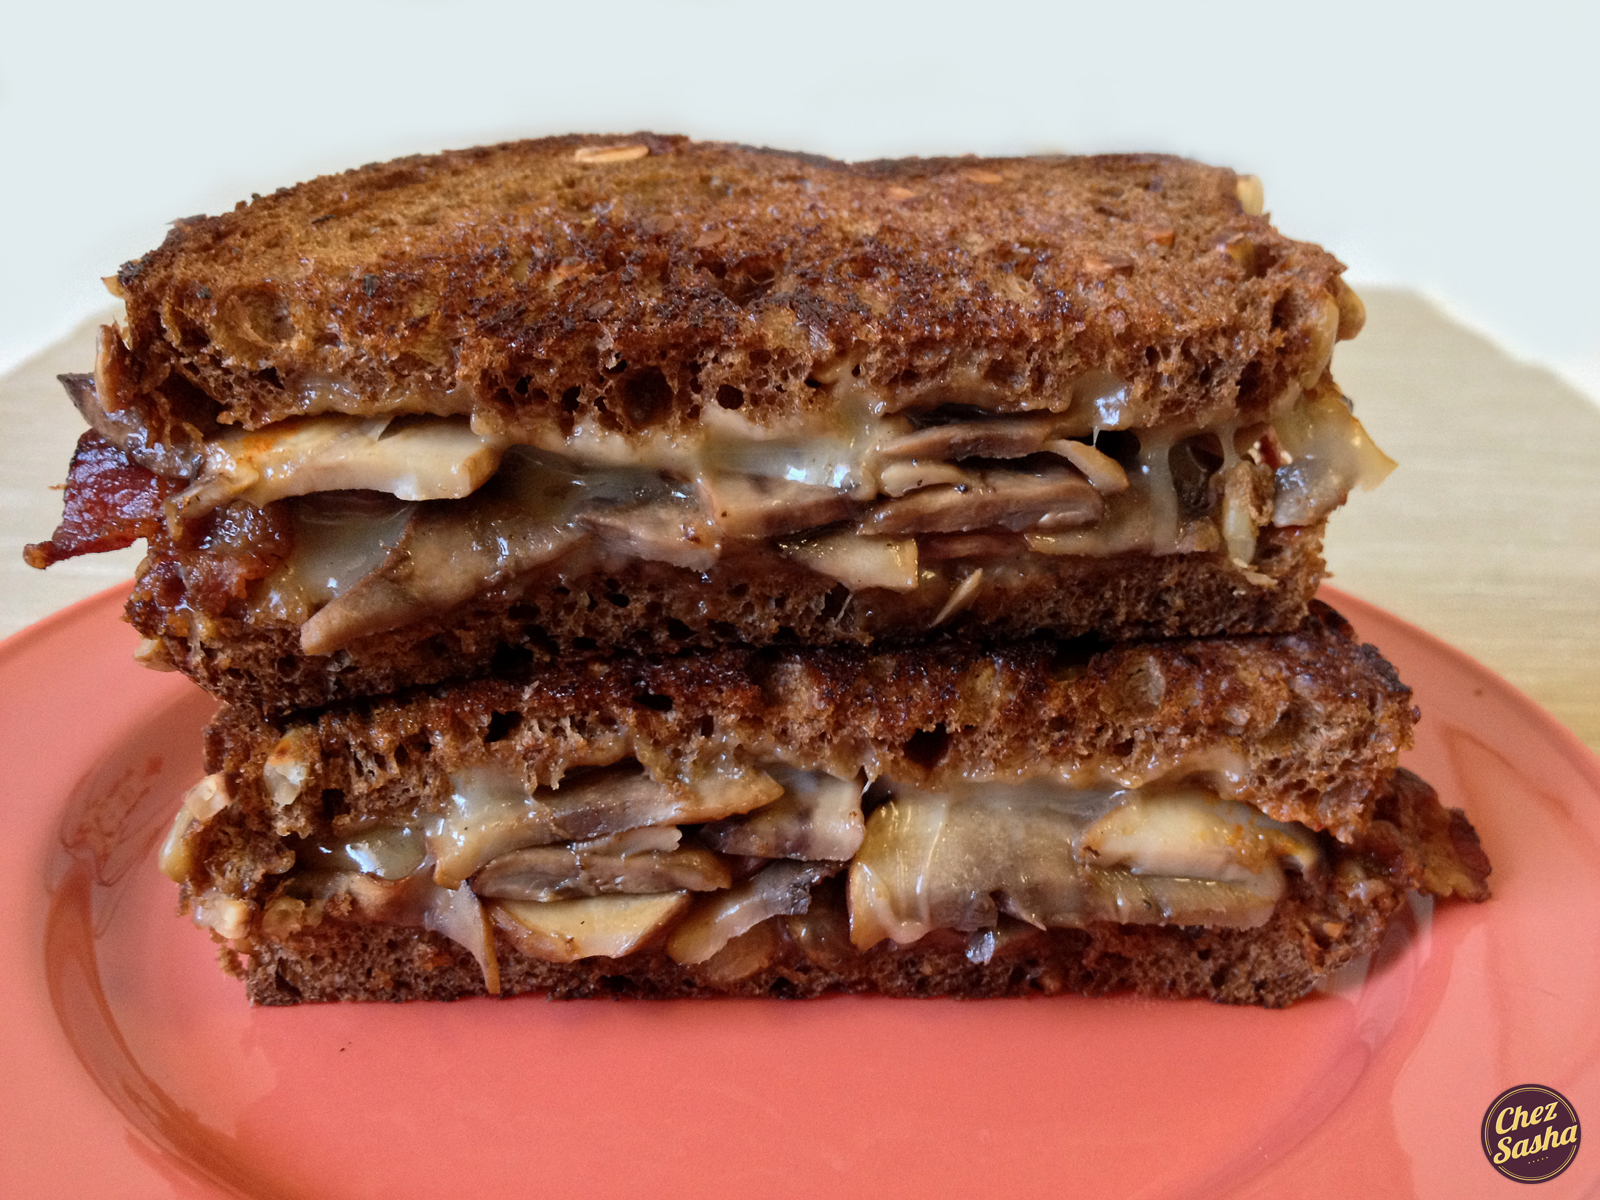
2 strips bacon
3-4 baby bella mushrooms, thinly sliced
2 slices Muenster cheese
2 slices pumpernickel bread
1 tsp butter, at room temp
Procedure: Place bacon into skillet and turn on a medium flame. Cook, flipping once halfway, for about 5 min or until sufficiently crispy. Remove bacon and drain on a paper towel. Discard some of the bacon grease, leaving about 1 tbsp of it in the skillet. Return the skillet to medium heat. Add mushrooms and cook, stirring occasionally, until browned - 4-5 min. Then butter one side of each bread slice and place buttered-side down. Place a slice of cheese, the mushrooms, bacon and more cheese on one slice (in that order) and cover with the other bread slice. Place sandwich into the same skillet over medium-low heat and cook for 3-4 min per side, occasionally pressing down on the sandwich with a spatula.
Do you feel that your palate has matured through the years?
What did you hate eating as a child that you love eating now?