Christmas cookies… Sort of.

Every December, I am excited to finish the semester and dedicate myself full-time to baking holiday goodies. I’m not a fan of the creamy, iced, frosted kinds, so usually they’re simple, homey sweets. This Vanilla Roll-Out Cookies recipe comes from - surprise, surprise - Bon Appetit magazine. The recipe is awesome and easy to execute. The wrong turn I made was rolling the dough out too thin, which resulted in a crispier product than I anticipated.

The red food coloring was my idea but I didn’t add enough so the cookies turned out pink instead of the intended red. My Christmas cookies turned out to be… breast cancer awareness cookies… :/

I guess my path to holiday cookie nirvana continues…

Tarte Tatin aux Bananes

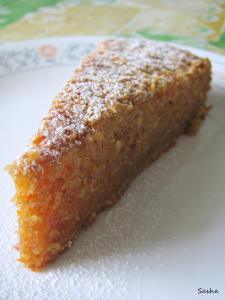
Tarte Tatin aux Pommes (upside-down apple tart) is the classic French dessert. In dates all the way back to the 1800′s. (For help pronouncing Tarte Tatin, click here). In the October 2011 issue of Bon Appetit magazine, I was shamelessly charmed by a recipe for mini upside-down banana tarts. The recipe called for 4 ingredients: butter, sugar, bananas and store bought puff pastry - ice-cream was an optional 5th.

This is an adaptation of BA’s recipe - it’s not mini and I made my own crust. God, I love making crusts…

Crust:

4 oz cold butter, cut into small pieces

1 c all-purpose flour

2/3 tsp salt

1 tbsp sugar

1/2 tsp ground nutmeg, 1/2 tsp cinnamon

1 egg yolk

2-3 tbsp ice water

Filling:

1 tbsp butter, at room temp

1 tbsp sugar

2-3 firm, ripe bananas, sliced on a bias

Procedure for crust: Combine flour, salt, sugar, nutmeg and cinnamon in food processor. Add butter and pulse until mixture resembles a coarse meal. Then add yolk and pulse a few times. Add 2 tbsp of ice water and pulse. If the mixture isn’t forming a ball, add 1 or 2 more. Then place mixture onto floured surface and roll out into 9″ circle. Cover with plastic wrap and refrigerate for at least 1 hour.

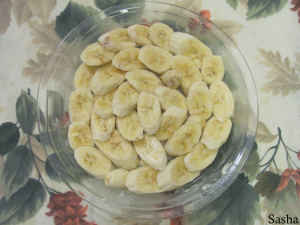
Assembly: Preheat the oven to 425F. Smear the bottom of a 9″ pie dish (I used a Pyrex) with butter. Sprinkle evenly with sugar. Line with banana slices.
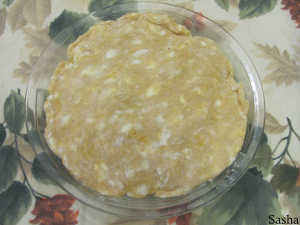
Top with crust.

Bake for about 25 minutes, or until the crust in golden brown. Remove from oven and let cool for 15 min. Then place a platter over the tart and carefully turn the dish over. The tart will gently release itself onto the platter. Serve immediately.

I honestly prefer the banana version to the apple - cooked bananas acquire this magical, caramel-ish flavor. I also prefer a tall glass of cold milk to a scoop of ice-cream. However, I’m a bit disappointed that the bananas didn’t get more brown like in the Bon Appetit photo. Also, if you make this, I highly recommend consumption on the same day. The bananas get kind of discolored if left-over.

How do you feel about Tarte Tatin?

A Tiramisu Affair

I went over to my friend Michelle’s house the other night to unwind after a long work day and we decided on the perfect activity - we made tiramisu.

I’m not a fan of tiramisu, or creamy desserts in general, but Michelle adores the stuff and she had all the ingredients ready to go. Neither of us had made it before so we followed this recipe.

Michelle’s awesome photos of the process:

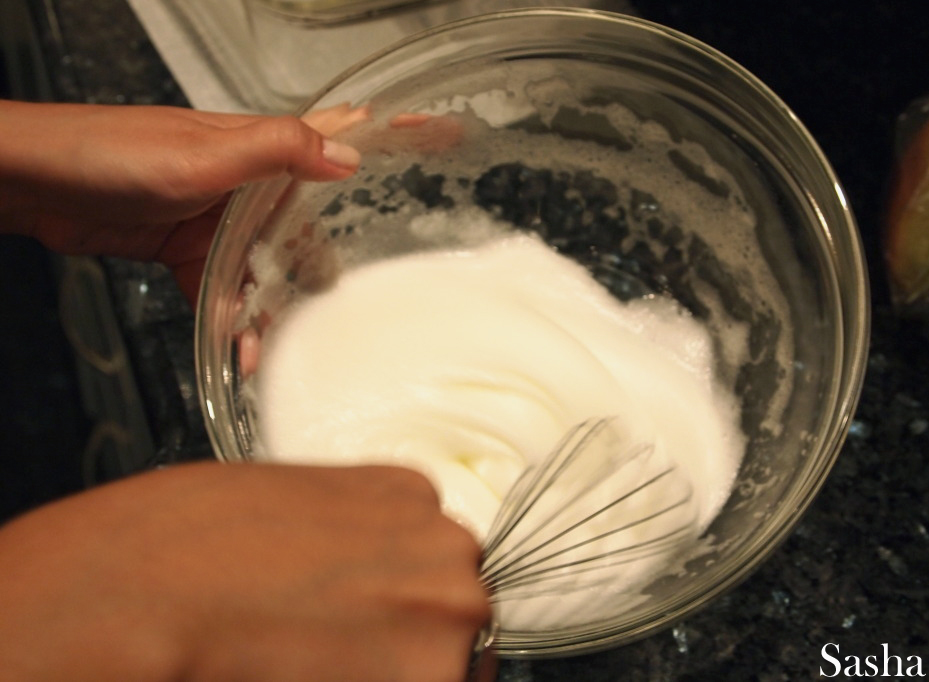
We didn’t have whipping cream so we whipped egg whites instead.

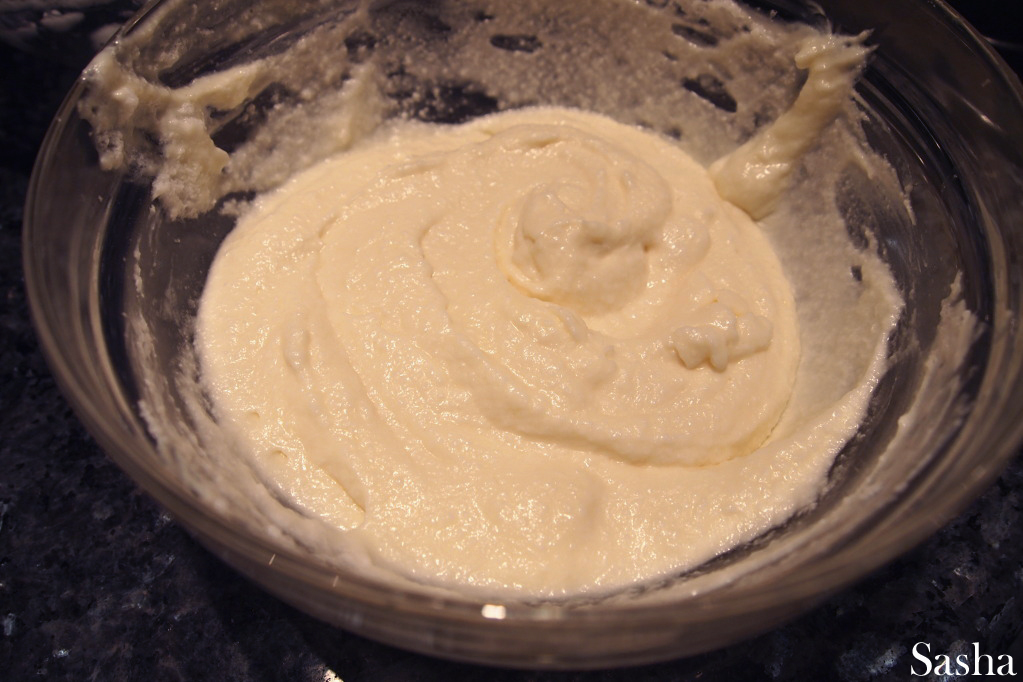
Mascarpone mixture + egg whites

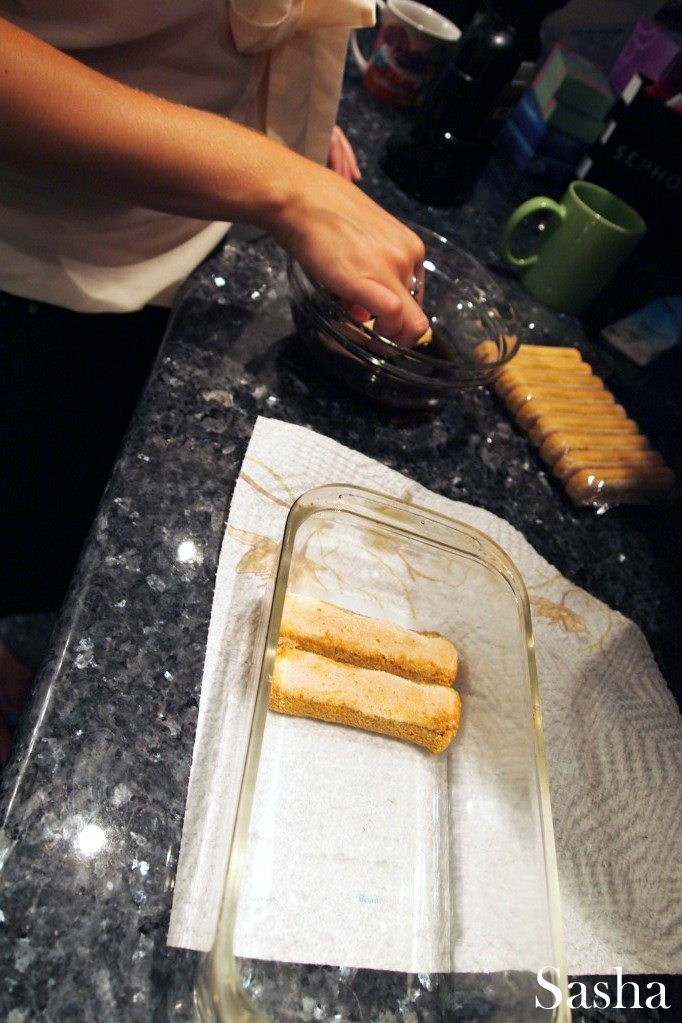
Dipping ladyfingers into espresso
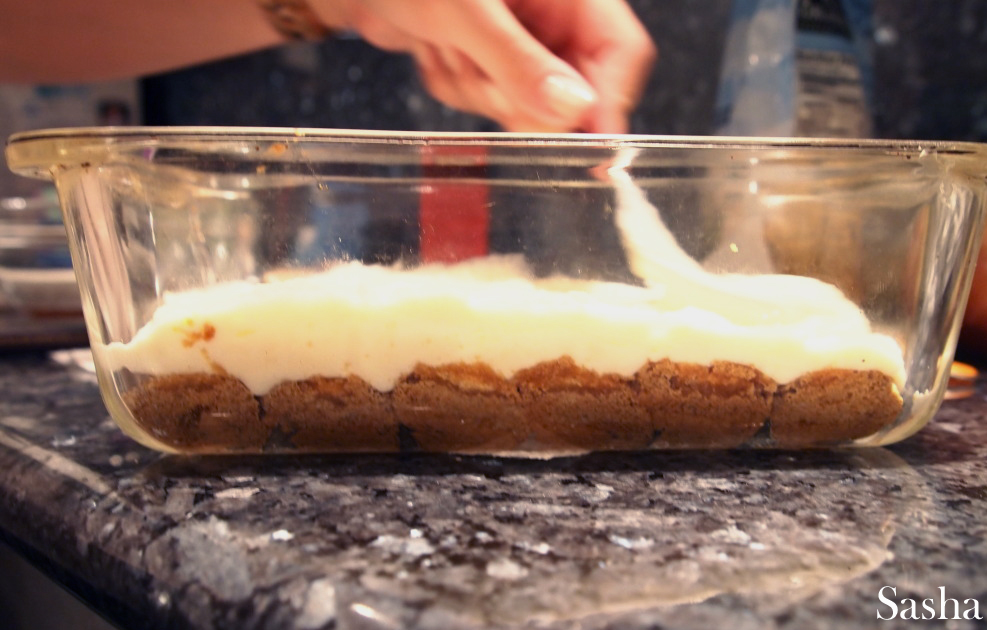
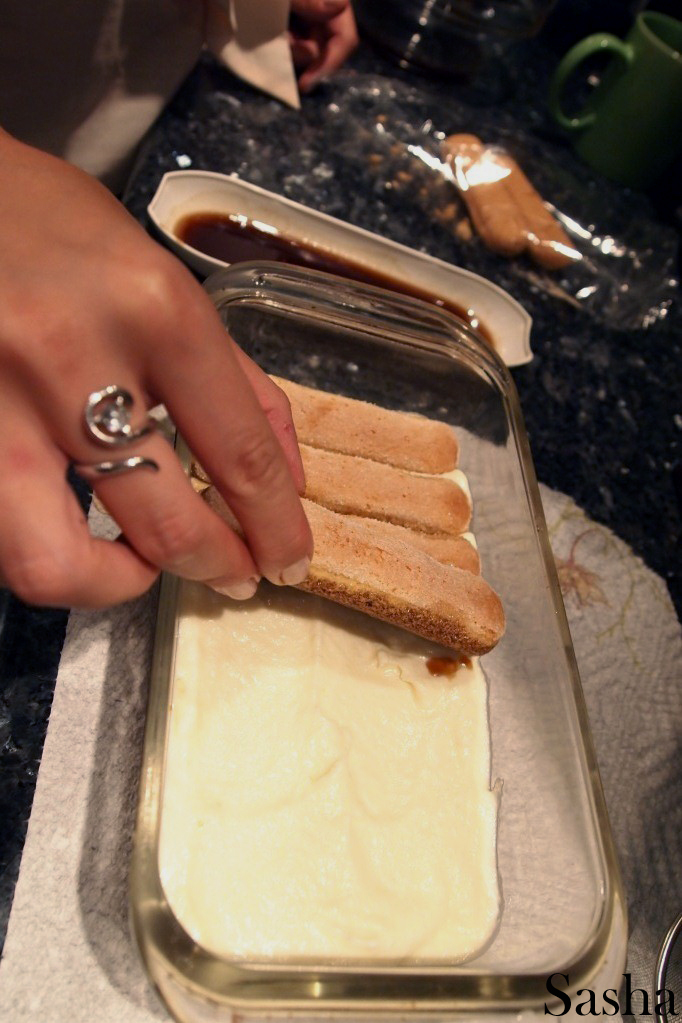
Then in Kahlua

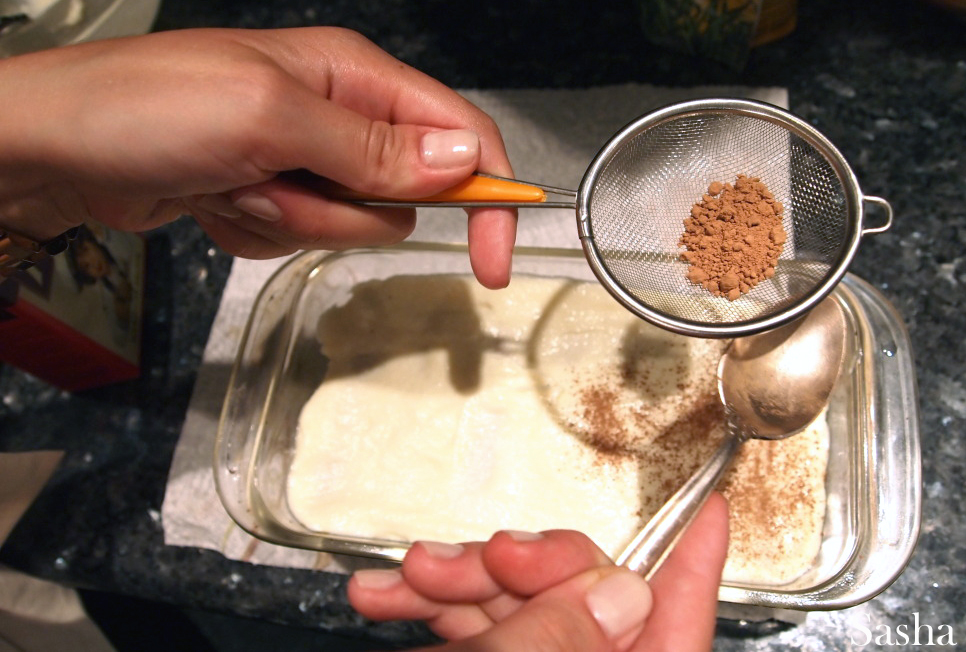
Dusting with cocoa powder

And dark chocolate shavings for the grand finale

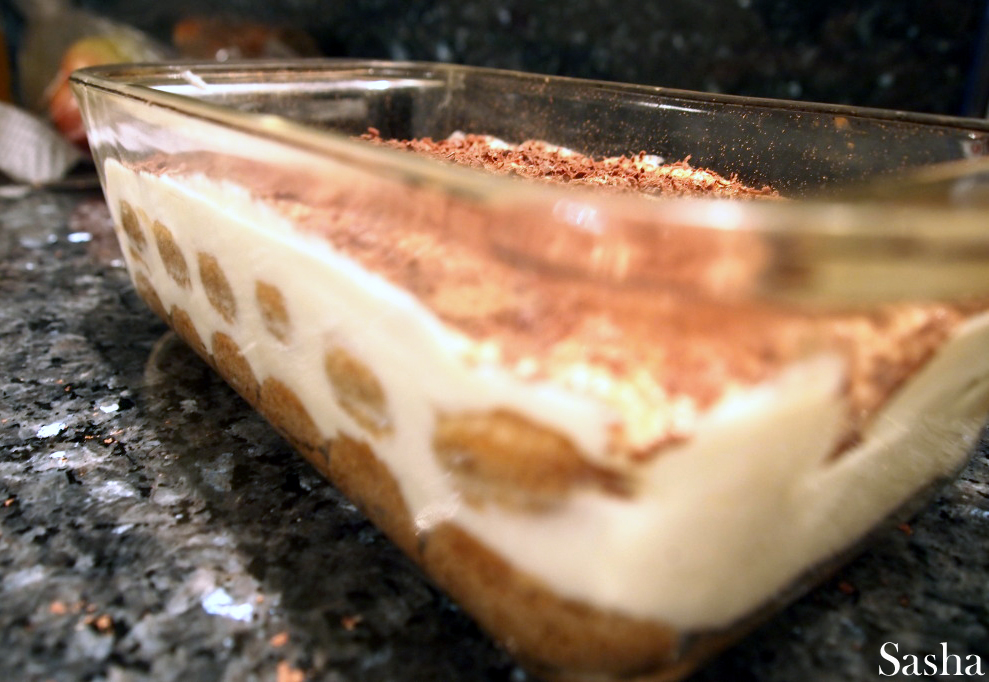
Viola! Isn’t it pretty?

The greatest thing about tiramisu is that is doesn’t require any baking. I’m glad we substituted egg whites for cream, the dessert turned out lighter that way. I was pretty happy with the final result - and now I have a whole new appreciation for this dessert.

Bon Appétit Biscotti

Here is yet another recipe from this month’s issue. Unfortunately, it was a bit of a disappointment. The printed recipe claimed to yield four dozen so I cut it in half and hoped for two dozen, but ended up with only one. Also, I felt that the proportions were a bit off; the recipe called for more dried fruit than was necessary. And, the recipe online calls for 1 3/4 cups of flour while the magazine says 2 cups - as baking in an exact science, this could make a world’s difference.

The recipe called for pistachios and dried cherries, but I used what I had, which were almonds, cherries and white raisins. The procedure is pretty basic. First, a simple dough is made and formed into a log.

The log is baked and cooled.

Then it is sliced into 1/2″-thick slices.

The cookies are then baked once more at a lower temp, and viola.

Don’t get me wrong - the biscotti were delicious, especially when dipped into coffee. Click here for the recipe and see for yourself.

The best brownies ever.

If you have been concerned with the term “beach body” lately, this post is not for you. Feel free to browse through the Fruits, Vegetables and Power Foods categories or kindly return to where you came from. Thank you and come again!

Still here?

Good…

So, as some of you may know, one of my culinary goals is [was] to achieve the perfect cakey, chewy, voluminous, orgasmic brownie. Thanks to Mary, from One Perfect Bite, this goal has been achieved. Well, it’s more of a dream come true. That’s right. Suck on that, Fat Witches! In case you don’t believe me or Mary, these heavenly treats got huge stamps of approval from my girlfriends as well.

I altered Mary’s recipe slightly, and decided to add espresso (to intensify bitterness) and cayenne pepper (to ignite the palate). Everything about the preparation of these brownies went perfectly, until I decided to cut them before they cooled completely (I was impatient!), so they didn’t look so neat.

Enough words! Here’s the recipe (adapted from Mary’s):

(Yield: 16 pieces)

Ingredients:

4 oz dark chocolate, chips or chopped bar

4 oz milk chocolate

6 tbsp butter

3 eggs

1 c sugar

1/4 tsp salt

1/3 cup + 1 tbsp all-purpose flour

1 heaping tsp espresso powder

1/3 tsp cayenne pepper

Adjust oven rack to lower third of oven. Preheat to 350F. Melt butter and chocolate in a bain marie,

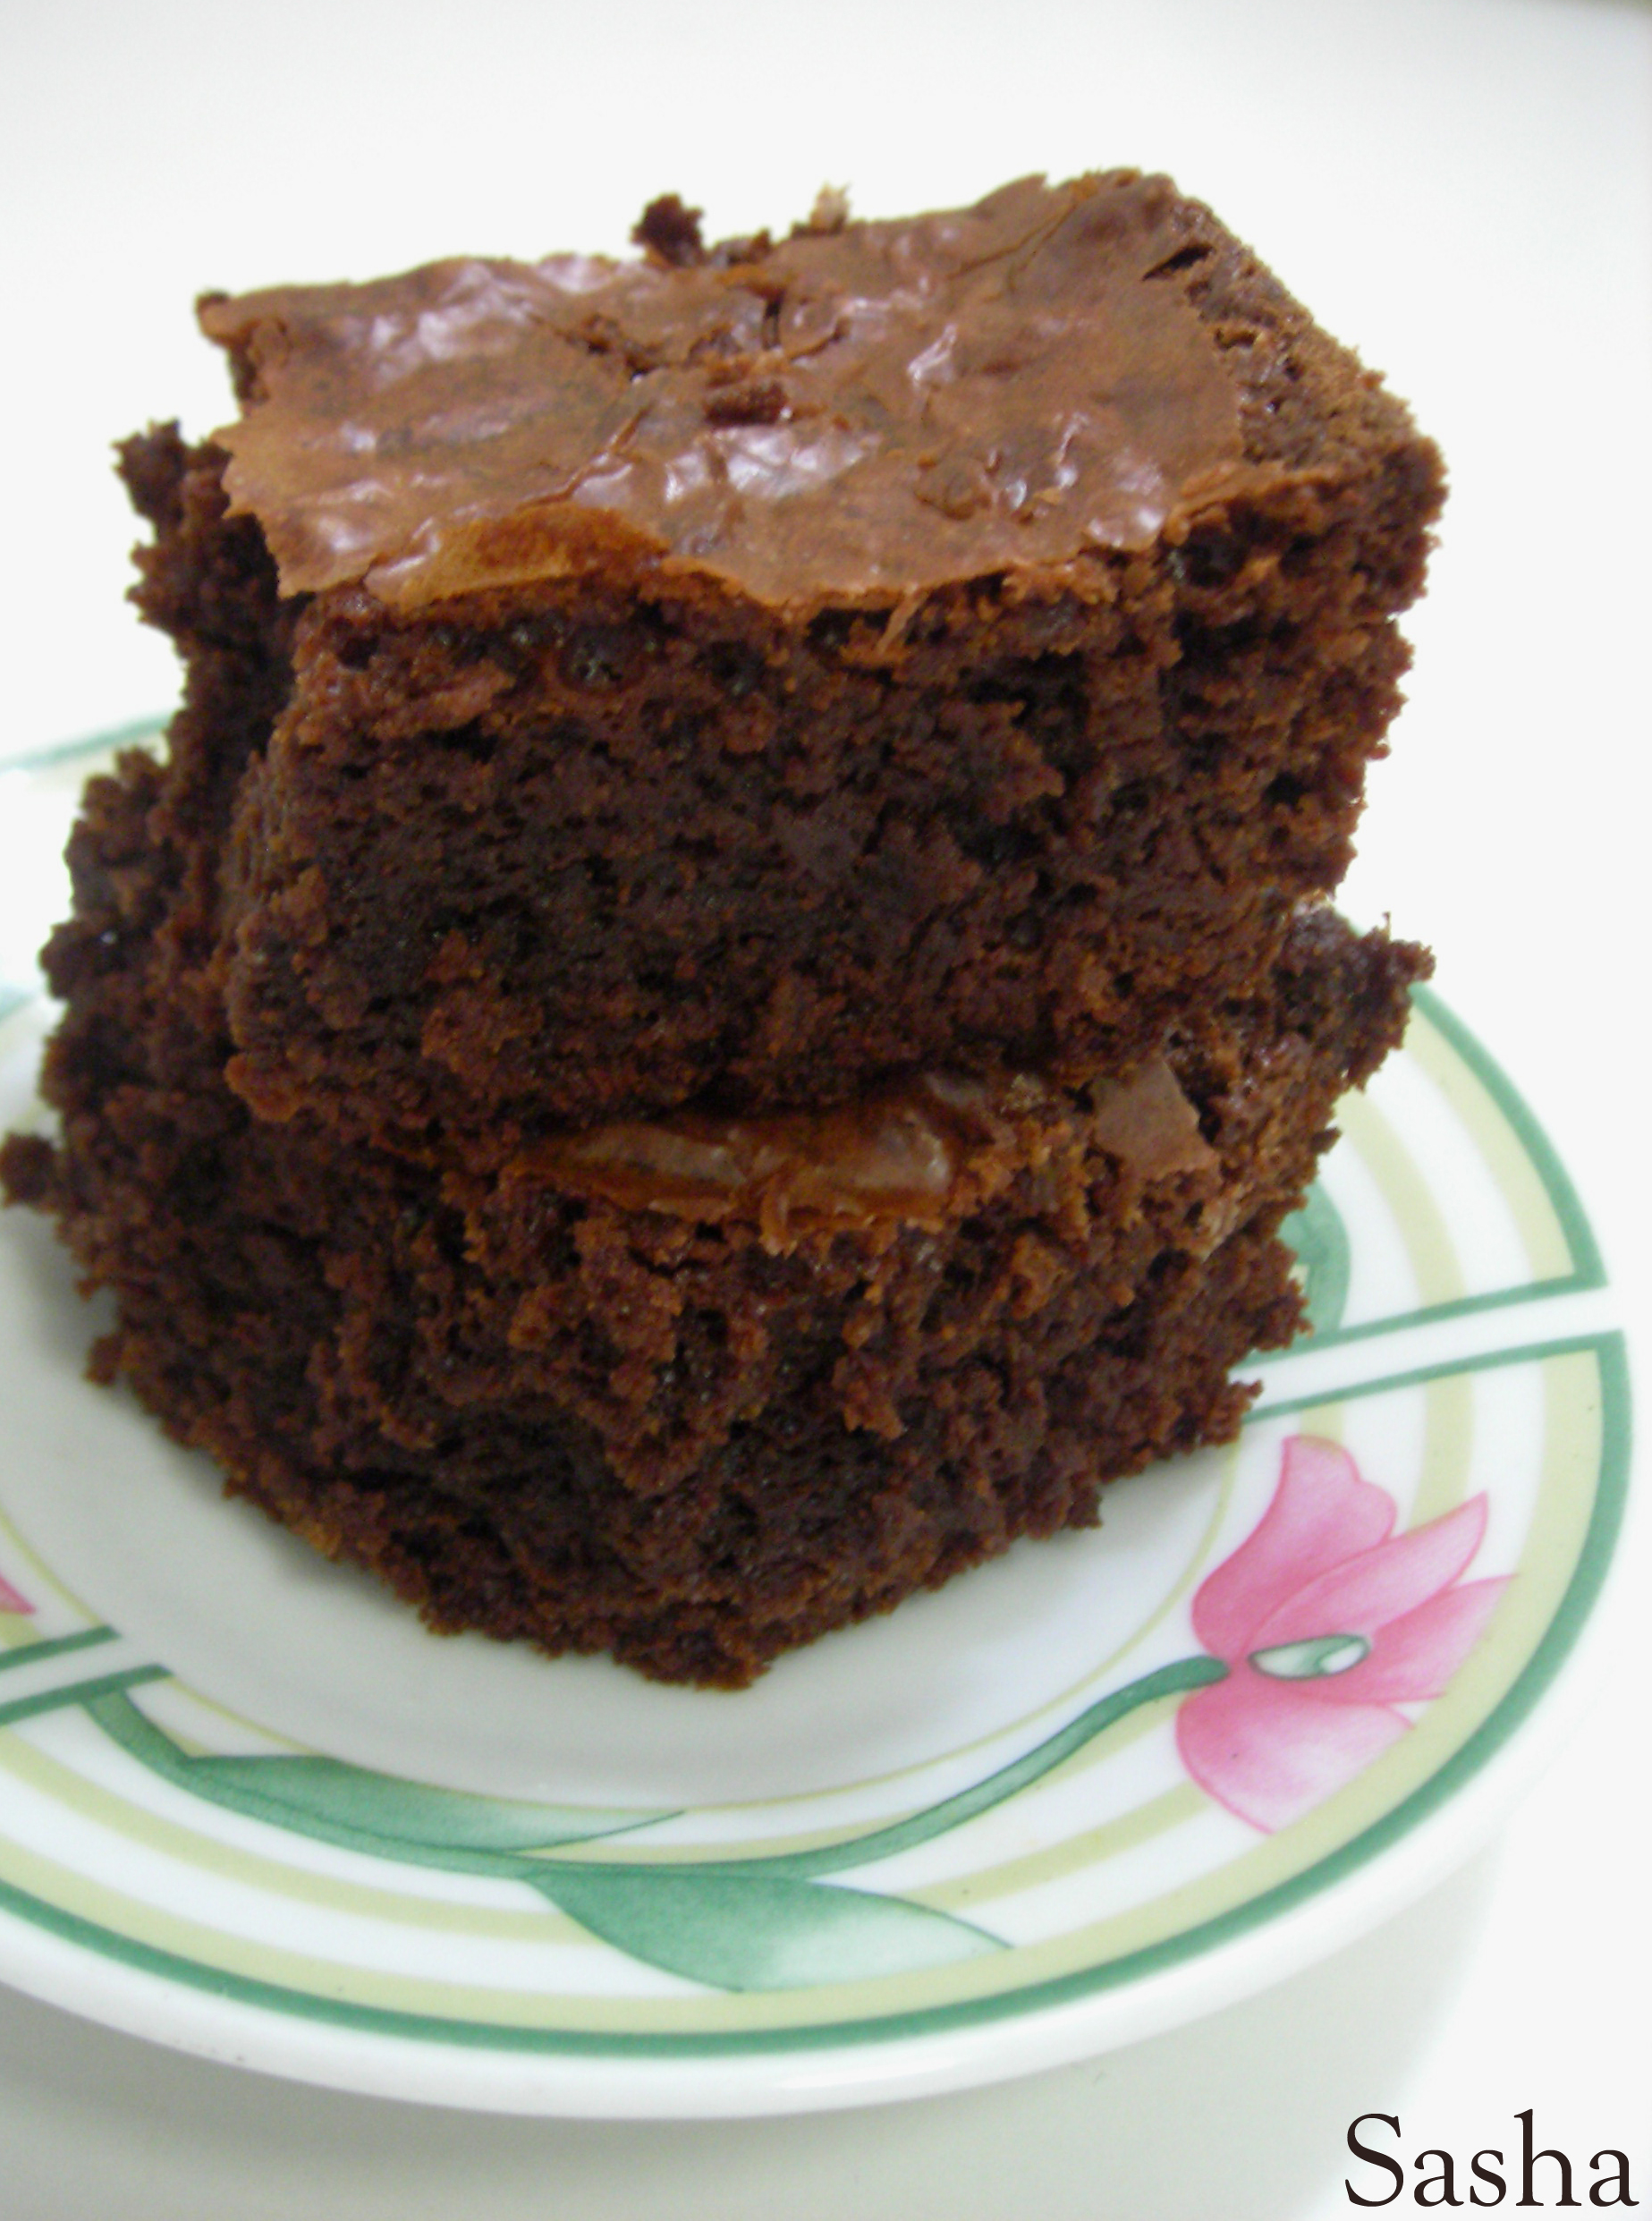
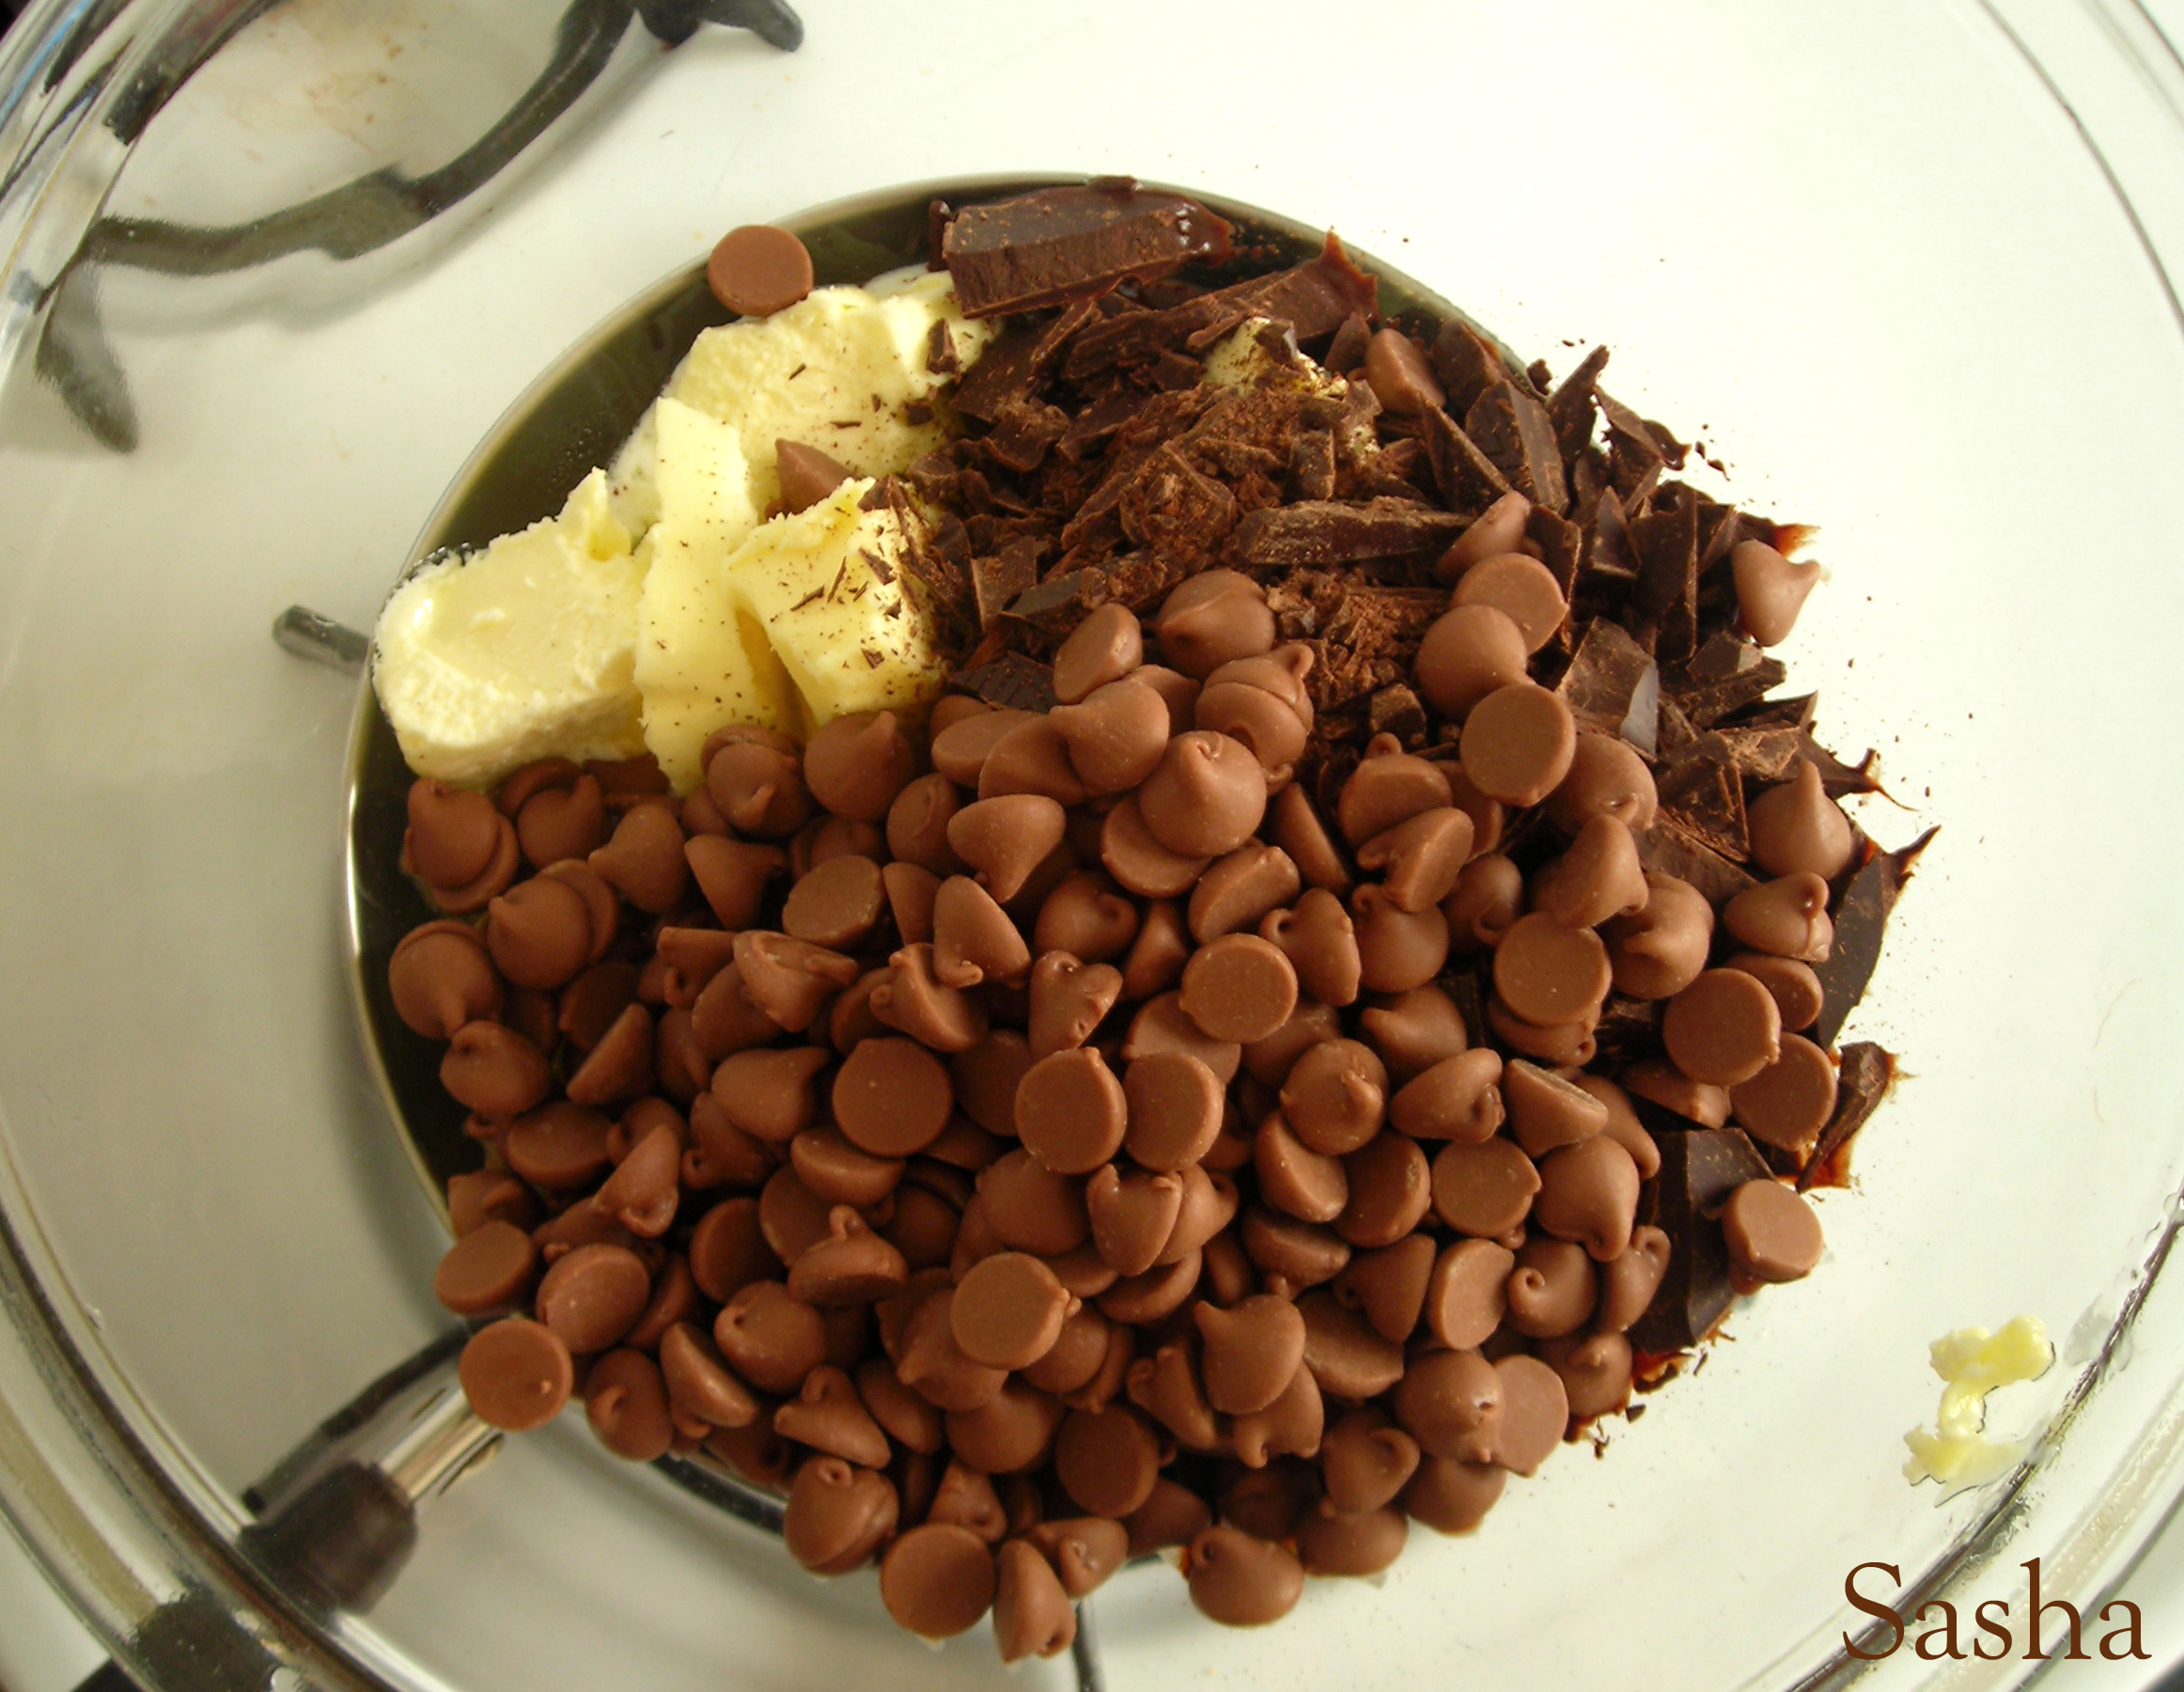
stirring occasionally, until smooth. In a separate bowl, whisk together eggs, sugar, salt, espresso and pepper, until mixture forms a ribbon. Add 2 tbsp of chocolate mixture to eggs and whisk (as to not shock eggs with heat and inadvertently scramble them), 
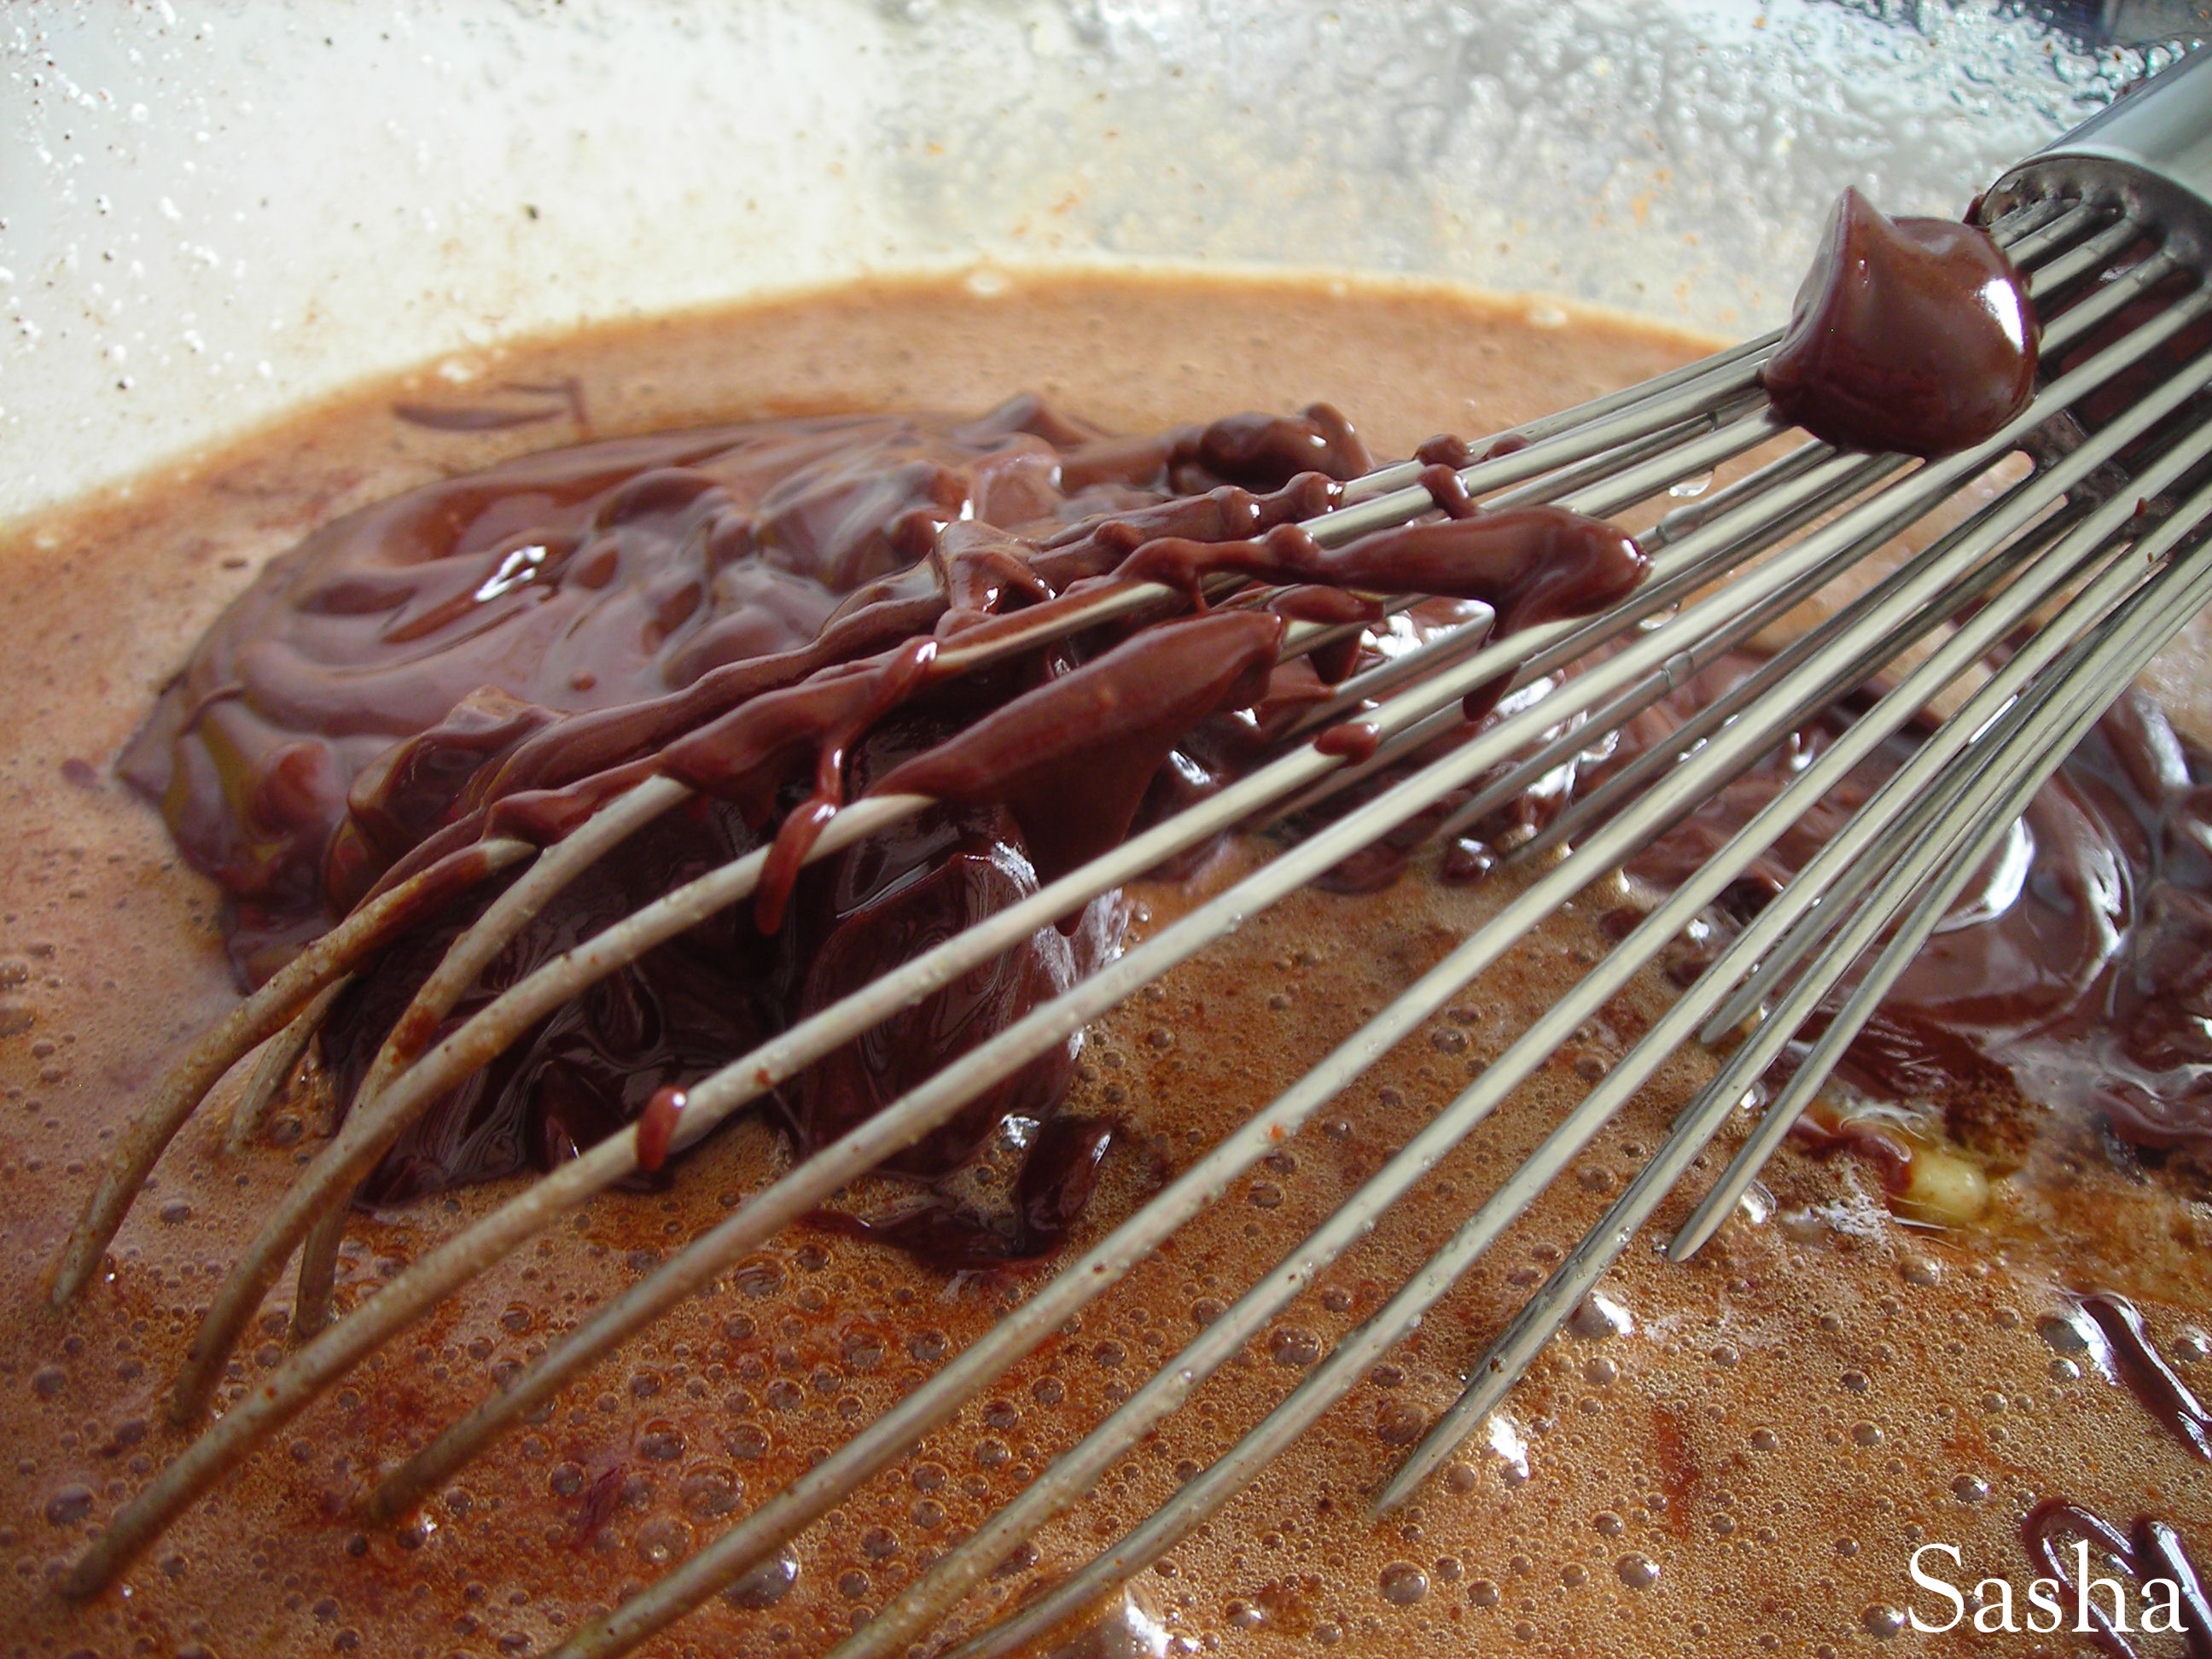
then whisk in remaining chocolate and gently fold in flour. DO NOT OVER-MIX. Pour batter into greased 8″ square pan. Bake for about 30 min, until an inserted toothpick comes out clean. Remove from oven. Cool completely. Cut into 16 squares.

Banana Muffins

Few things in life are better than a freshly-baked, moist banana muffin.

Here is the recipe I used. Because muffins are smaller than a loaf, they bake faster and therefore require a higher baking temperature. Changes: Bake at 375F for 15-20 min, until an inserted toothpick comes out clean.

I hope you all have a sweet week!

Cream Cheese Swirl Brownies

Ever since I tried my first Fat Witch brownie from Chelsea Market, I’ve been craving brownies like mad. Their brownies are perfection. Period.

I’ve had this recipe for God-knows-how-long and its origin by now is an enigma. I wasn’t too pleased with the way these turned out. They were a bit tough (which might’ve resulted from over-mixing the batter) and could’ve used more cream cheese. Needless to say they didn’t come close to the Witches.

(Yield: 16 brownies)

Ingredients:

¾ cup flour

4 tbsp unsweetened cocoa powder

½ tsp salt

2 eggs

2/3 cup sugar

1/3 cup vegetable or canola oil

½ tsp vanilla extract

3 tbsp cream cheese, at room temp

Preheat the oven to 350 degrees. Combine the flour, cocoa and salt in a bowl. Set aside. In a larger bowl, whisk together the eggs and sugar until pale. Add oil and vanilla and whisk again. Then gradually stir in the dry ingredients. Pour batter into a greased 8″x8″ baking pan. Spoon cream cheese over the top, and using a butter knife, swirl (not stir) it into the batter with figure-eight motions.

Bake for about 20 min, or until an inserted toothpick comes out clean. Remove from oven and let cool 5 min. Cut into 16 squares.

If anyone has a brownie recipe that they absolutely adore, please share!

Orange-scented chocolate bark with walnuts

Surely I could have went to the store and bought a walnut and orange chocolate bar, but what would be the fun in that? Homemade bark is easy to make, way more festive, and you can add whatever you wish.

*I prefer using chocolate bars for a recipe like this, but chips would work fine if you have them in the house.

Ingredients:

4 oz milk chocolate

4 oz dark chocolate

1 tsp orange zest (about 1/3 of an orange)

1/2 c chopped walnuts

Line an 8×8″ baking dish (I used Pyrex) with parchment or wax paper and set aside. Bring an inch of water to a simmer in a saucepan and keep the heat low. Place the chocolate in a glass bowl and place the bowl over the steaming water. (This is called a Bain-Marie). Melt the chocolate, stirring occasionally. This should take about 4 min. Once melted, stir in zest, and pour into baking dish. Sprinkle with walnuts. Refrigerate until solid, about 1 hour. Then remove from dish, peel off paper, and break apart.

P.S: Spicy Sausage Lasagna recipe coming up later this week!

Red velvet paradise

I finally did it - bought the muffin tin, the paper cups, the red food color, and made red velvet cupcakes. I was gonna wait for a special occasion, but hell, it was Thursday. Each Thursday, my girlfriends and I gather at one of our homes to watch Jersey Shore, do our nails and drink cheap beer. What could be a better occasion than my ladies’ company?

I’ve never been a fan of cupcakes - I find them difficult to eat and I hate biting through a thick layer of buttercream. This is why I frosted mine with a thin layer of cream cheese frosting. No piping bags needed.

After experiencing how much tender love and care goes into making a dozen individual desserts, I’ve developed level of respect for cupcakes and can foresee myself making plenty more in the future.

This is the recipe I used. The frosting I made on the spot, recipe below.

Frosting: 5 oz cream cheese (at room temp), 4 oz butter (at room temp), 1/2 c powdered sugar, 1 tsp vanilla extract, a few drops of red food color (enough to achieve pink tint). Mix all ingredients in food processor or stand mixer. Divide frosting evenly amongst cupcakes and spread with offset spatula or butter knife.

The ladies raved about these treats. I’m proud of the job I did too, but next time, I will use another recipe. I wasn’t too fond of the technique - particularly the alternation of the sour cream and flour in the end.

Salted chocolate cookies with peanuts

Salted sweets are a wonderful creation - chocolate covered pretzels, anyone?

There cookies are super easy to make and are absolutely delightful. In fact, if I were forced to use only one cookie recipe for the rest of my life, it would be this one.

Adopted from this recipe

(Yield: 12)

Ingredients:

125g butter, softened

85g granulated sugar

1 tsp vanilla extract

1 egg yolk

150g flour

2 tsp unsweetened cocoa powder

75 g chopped peanuts

Salt

Beat together sugar and butter until the mixture is pale in color. Add vanilla and the yolk. Then stir in cocoa, flour and peanuts. Preheat the oven to 350F and grease a cookie sheet. Then, take about a tbsp of dough into your hands, roll into a ball, place on the sheet, and press down lightly. Sprinkle each cookie with a pinch of salt. Bake for 12 min.

Losing my muffin virginity.

I, Sasha, have to admit that up until this week I did not own a muffin tin. I bought it with the intention of making cupcakes, a personal feat I have yet to get to, but I did make these corn muffins in it already. I searched Google for a recipe and decided to go with this one, Sour Cream Cornbread Muffins.

The hardest part about making these was measuring out the ingredients.

The muffins turned out delicious, chewy and a bit sweet, though a little dark in color - I think I left them in the oven too long.

Blueberry Peach Linzer Bars

I found this recipe on Smitten Kitchen and I just knew I had to make these. I’ve been meaning to make Linzer bars for a while but was waiting for the perfect recipe to come along and now it finally has. However, I also added a sliced peach to the blueberries. These crumbly, buttery, fruity treats are super-easy to make…

The dry ingredients are combined first…

Then the butter is cut in and the egg is added. Half the dough is then pressed into a pan,

fruit goes over that and the rest of the dough is crumbled over the fruit.

Into the oven for 45 minutes and viola!

An absolutely lovely treat : )

Thank you, Smitten Kitchen!

“My name is Sasha, and I’m a chocoholic.”

This is the fastest, easiest way to satisfy a serious chocolate-tooth.

Whoever you share this fudge with will be seriously impressed. Don’t dare tell them how little work went into it! Also, this ‘whoever’ might fall in love with you, so share with caution – it’s that good!

Walnut Chocolate Fudge

Adapted from this Anne Thornton recipe

(Yield: 12 pieces)

Ingredients:

1 1/5 c semi-sweet chocolate chips

1/5 c dark chocolate chips

10 oz sweetened condensed milk

1 tsp espresso powder

1/4 tsp salt

1 tsp vanilla extract

1 c chopped walnuts

Combine the chocolate, condensed milk, espresso powder and salt in a sauce pan, and melt over low heat, stirring almost constantly. Turn heat off and stir in vanilla and walnuts. Spread mixture evenly into an 8-inch square pan lined with wax paper/parchment paper/foil. Refrigerate 2-3 hours, or until fudge has hardened. Turn fudge over onto cutting board and peel the paper/foil off. Cut into 12 squares with a sharp knife. Share with someone you like and refrigerate the rest in an airtight container.

My very first pumpkin!

My only experiences with pumpkin until now have been the kasha (porridge) my mom used to make me when I was little and the carved ones I usually see on people’s porches this time of year. Now that pumpkin is in season, pumpkin recipes seem to be popping up all over the place, and today, I finally decided to give one a try…

…and now I’m in love! This is the recipe I used.

Although cutting into a raw pumpkin was intimidating, what with its size, hard texture and strange, stringy, gooey insides, I was determined to succeed. I heated the pumpkin in the microwave for 15 seconds before cutting it, which made the process a bit easier. I followed the recipe exactly, except I omitted the seeds and baked it in a springform pan as opposed to a loaf, which cut the cooking time to about 50 minutes.

This pumpkin bread turned out AMAZING! It’s dense, moist and tastes like autumn. The only things I would do differently next time is add less sugar and maybe some orange zest.

Whether you’re a pumpkin virgin like me, or just looking for a great recipe, definitely give this one a try : )